Repainting a door on a white 2015 Audi q7 TDI
Yesterday I decided to tackle the door on my wife's white 2015 q7. We bought this car just over a year ago when we returned our "dieselgate" 2011 q7 TDI to Audi. Our old q7 had 230K km on the odometer, and we replaced it with one that was 3 years newer and only had 105K km on the clock.
Anyways a few months into ownership we noticed a weird rust bubble and cracked pain on the rear driverside door. We brought it into the local Audi dealership to see if we could get rust warranty on it, but when they measured the paint on the vehicle they said that the majority of the driverside had been resprayed. So no factory warranty.
I bought paint, 2K clear coat and some supplies in May, but didn't get around to doing the job until yesterday.
Here's what the rust bubble looked like yesterday morning. There was a crack in the paint, and the crack had a raised bubble around it.
 I used a small brass wire wheel on a drill and removed a bunch of paint and about 3/16" of body filler to get down to the metal.
 I applied some gelled acid rust remover to the spot. The rust remover converts any brown rust to an 'inactive' black oxide, hopefully to slow down further corrosion. You can see where the metal had been previously re-worked. Best guess is that this vehicle had been in a parking lot fender bender sometime before we purchased it. Carproof didn't show any claims.

 Here is a small spot on the rearmost edge of the door. There was a bit of rust there from the door hitting something when openned too far.

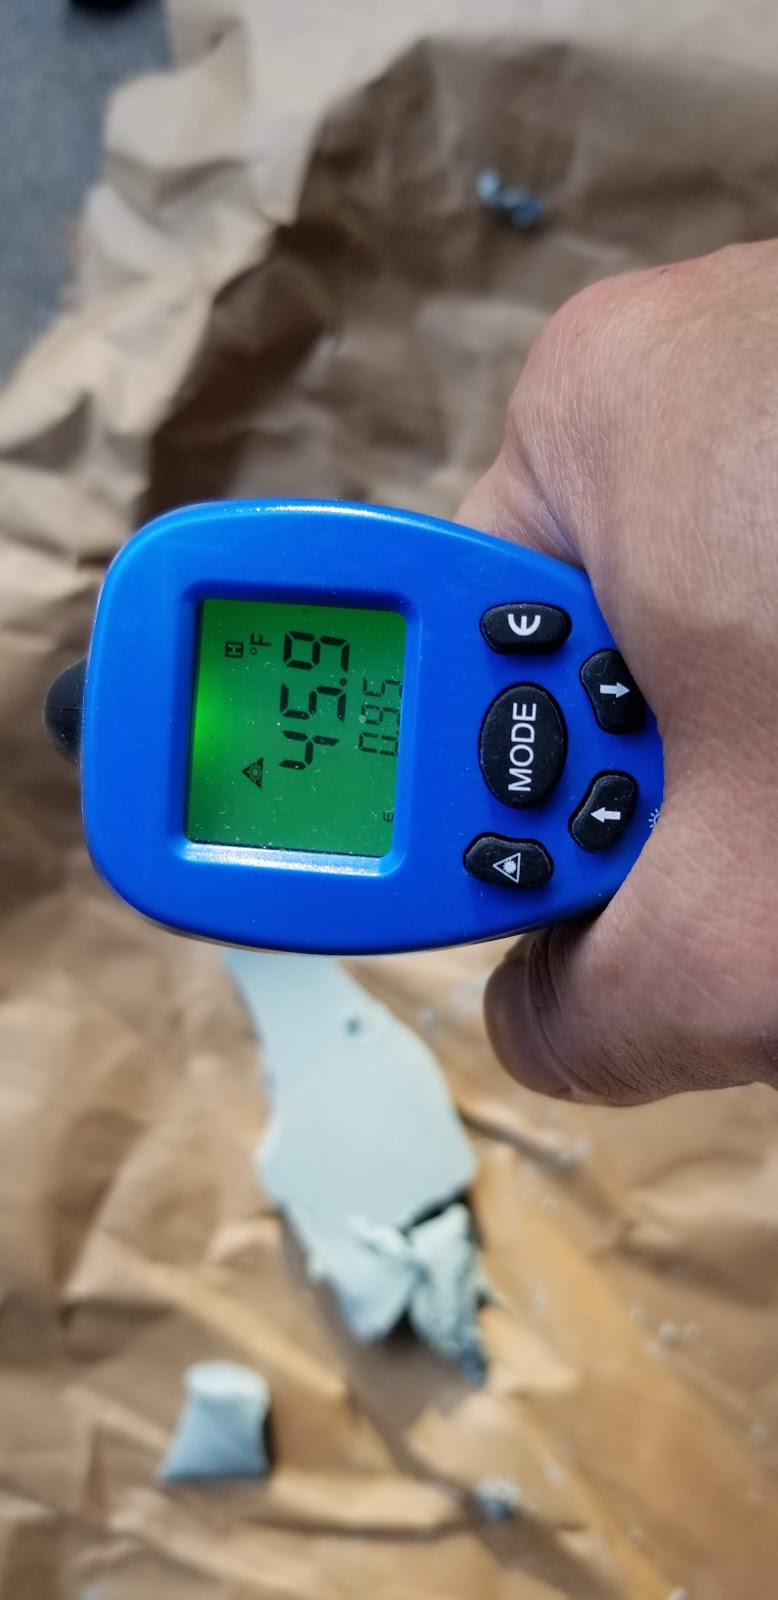
Of note, I did the body filler in the morning, the air temperature was probaby around 10C when I started. This was the temperature of the floor in the garage. (46F)
 This was the temperature of the extra curing body filler (93F) . - An exothermic reaction.
 1st layer of body filler, sanded. Took about 20 minutes to cure before sanding due to the cool tempeatures.
 2nd layer of body filler applied, and curing. I added a touch more hardener to help with the cool temperatures.
 Body filler
 2nd layer of body filler sanded, as well as spot putty/glaze sanded.


 Vehicle moved into garage, and masked off for primer, base and clear.


A couple coats of primer.


3-4 light coats of color matched white paint, feathering out from the repair area.


 Air temperatures were starting to drop below 15C, so I rigged up a halogen light and infrared workshop lamp to warm the panel while paint dried.


 Layer of Clear on the whole door
 2nd layer of clear on the whole door

Samsung Facial recognition did not recognize me. I am not sure why.


Anyways a few months into ownership we noticed a weird rust bubble and cracked pain on the rear driverside door. We brought it into the local Audi dealership to see if we could get rust warranty on it, but when they measured the paint on the vehicle they said that the majority of the driverside had been resprayed. So no factory warranty.
I bought paint, 2K clear coat and some supplies in May, but didn't get around to doing the job until yesterday.
Here's what the rust bubble looked like yesterday morning. There was a crack in the paint, and the crack had a raised bubble around it.


Of note, I did the body filler in the morning, the air temperature was probaby around 10C when I started. This was the temperature of the floor in the garage. (46F)


A couple coats of primer.


3-4 light coats of color matched white paint, feathering out from the repair area.


Ready for 2K clear coat.

First layer of clear on the repair area


Samsung Facial recognition did not recognize me. I am not sure why.

Masking removed about 1hr after the last coat of clear. The door came out ok. I have orange peel to wet sand out. When removing the masking, a bit of tape hit the door in the back corner and lifted some paint. (ARGH!) It's just a small spot, and I won't be fixing that at this point.

Wet sand and polish next week.
Wet sand and polish a few weeks later, & waxed.... orange peel fixed.

taped off door for wet sanding

"OEM" finish on front door

orange peel on my painted door. (notice reflection is blurry)

reflection on my painted door after wetsanding and polishing

Finished Product!
posted by Peter C at
6:22 AM
0 Comments
![]()


